
Vill du förbättra sidans innehåll? Föreslå en ändring.

Wallets in the 1700s were commonly made of fabric and were used by civilian men and women to carry a variety of personal items. NPS Photo
Learn step-by-step how to make an 18th-century wallet
Civilian men and women used wallets to carry their personal items. Civilians and possibly even some soldiers would have carried them as they marched into Valley Forge on December 19, 1777.
Click to Jump to a Step Navigation

##
Materials Needed
Linen fabric (large enough to fold into long rectangular shape and be able to drape the finished product over shoulder even when twisted in the middle)
Linen thread
Pincushion
Pins
Scissors
Small chunk of beeswax
Tape measure

If you wish to get creative, you can make a wallet by stitching together several different swatches to form your initial piece of fabric.
Gather your materials and follow the steps below to make your own wallet!

Gathering the materials. NPS Photo
Step 1 - Prepare the Fabric
Prepare your fabric by measuring and cutting the linen into a rectangular shape. You can pull a single thread along the warp of the fabric in order to mark the location of your cut. This will also prevent the fabric from fraying along the edge when you make a cut with scissors.
Note: The warp refers to the lengthwise fibers that make up the core of the fabric weave. The weft refers to the "filler" fibers that are woven between and perpendicular to the warp.


Step 2 - Mark the Opening
Once the cutting is complete, fold the fabric in half and use a measuring tape to determine where to place the opening. The opening will be a slit in the center of the wallet, and should be large enough for you to comfortably move items in and out, but not so large that things might fall out even when the wallet is twisted shut.


Use pins to mark each end of the opening.
Step 3 - Prepare Needle & Thread
Use beeswax to wax your linen thread. This will prevent the thread from fraying, serve to make it stronger, and make it easier to thread your needle!


Step 4 - Sew the Long Seam
Use a backstitch to sew the seam together along the fabric’s length, making sure not to stitch together the area that you marked for the wallet’s opening.


Step 5 - Finish the Long Seam
Roll each interior hem under itself and pin in place, then finish with a whipstitch. This will add to the strength of the seam and prevent fraying.


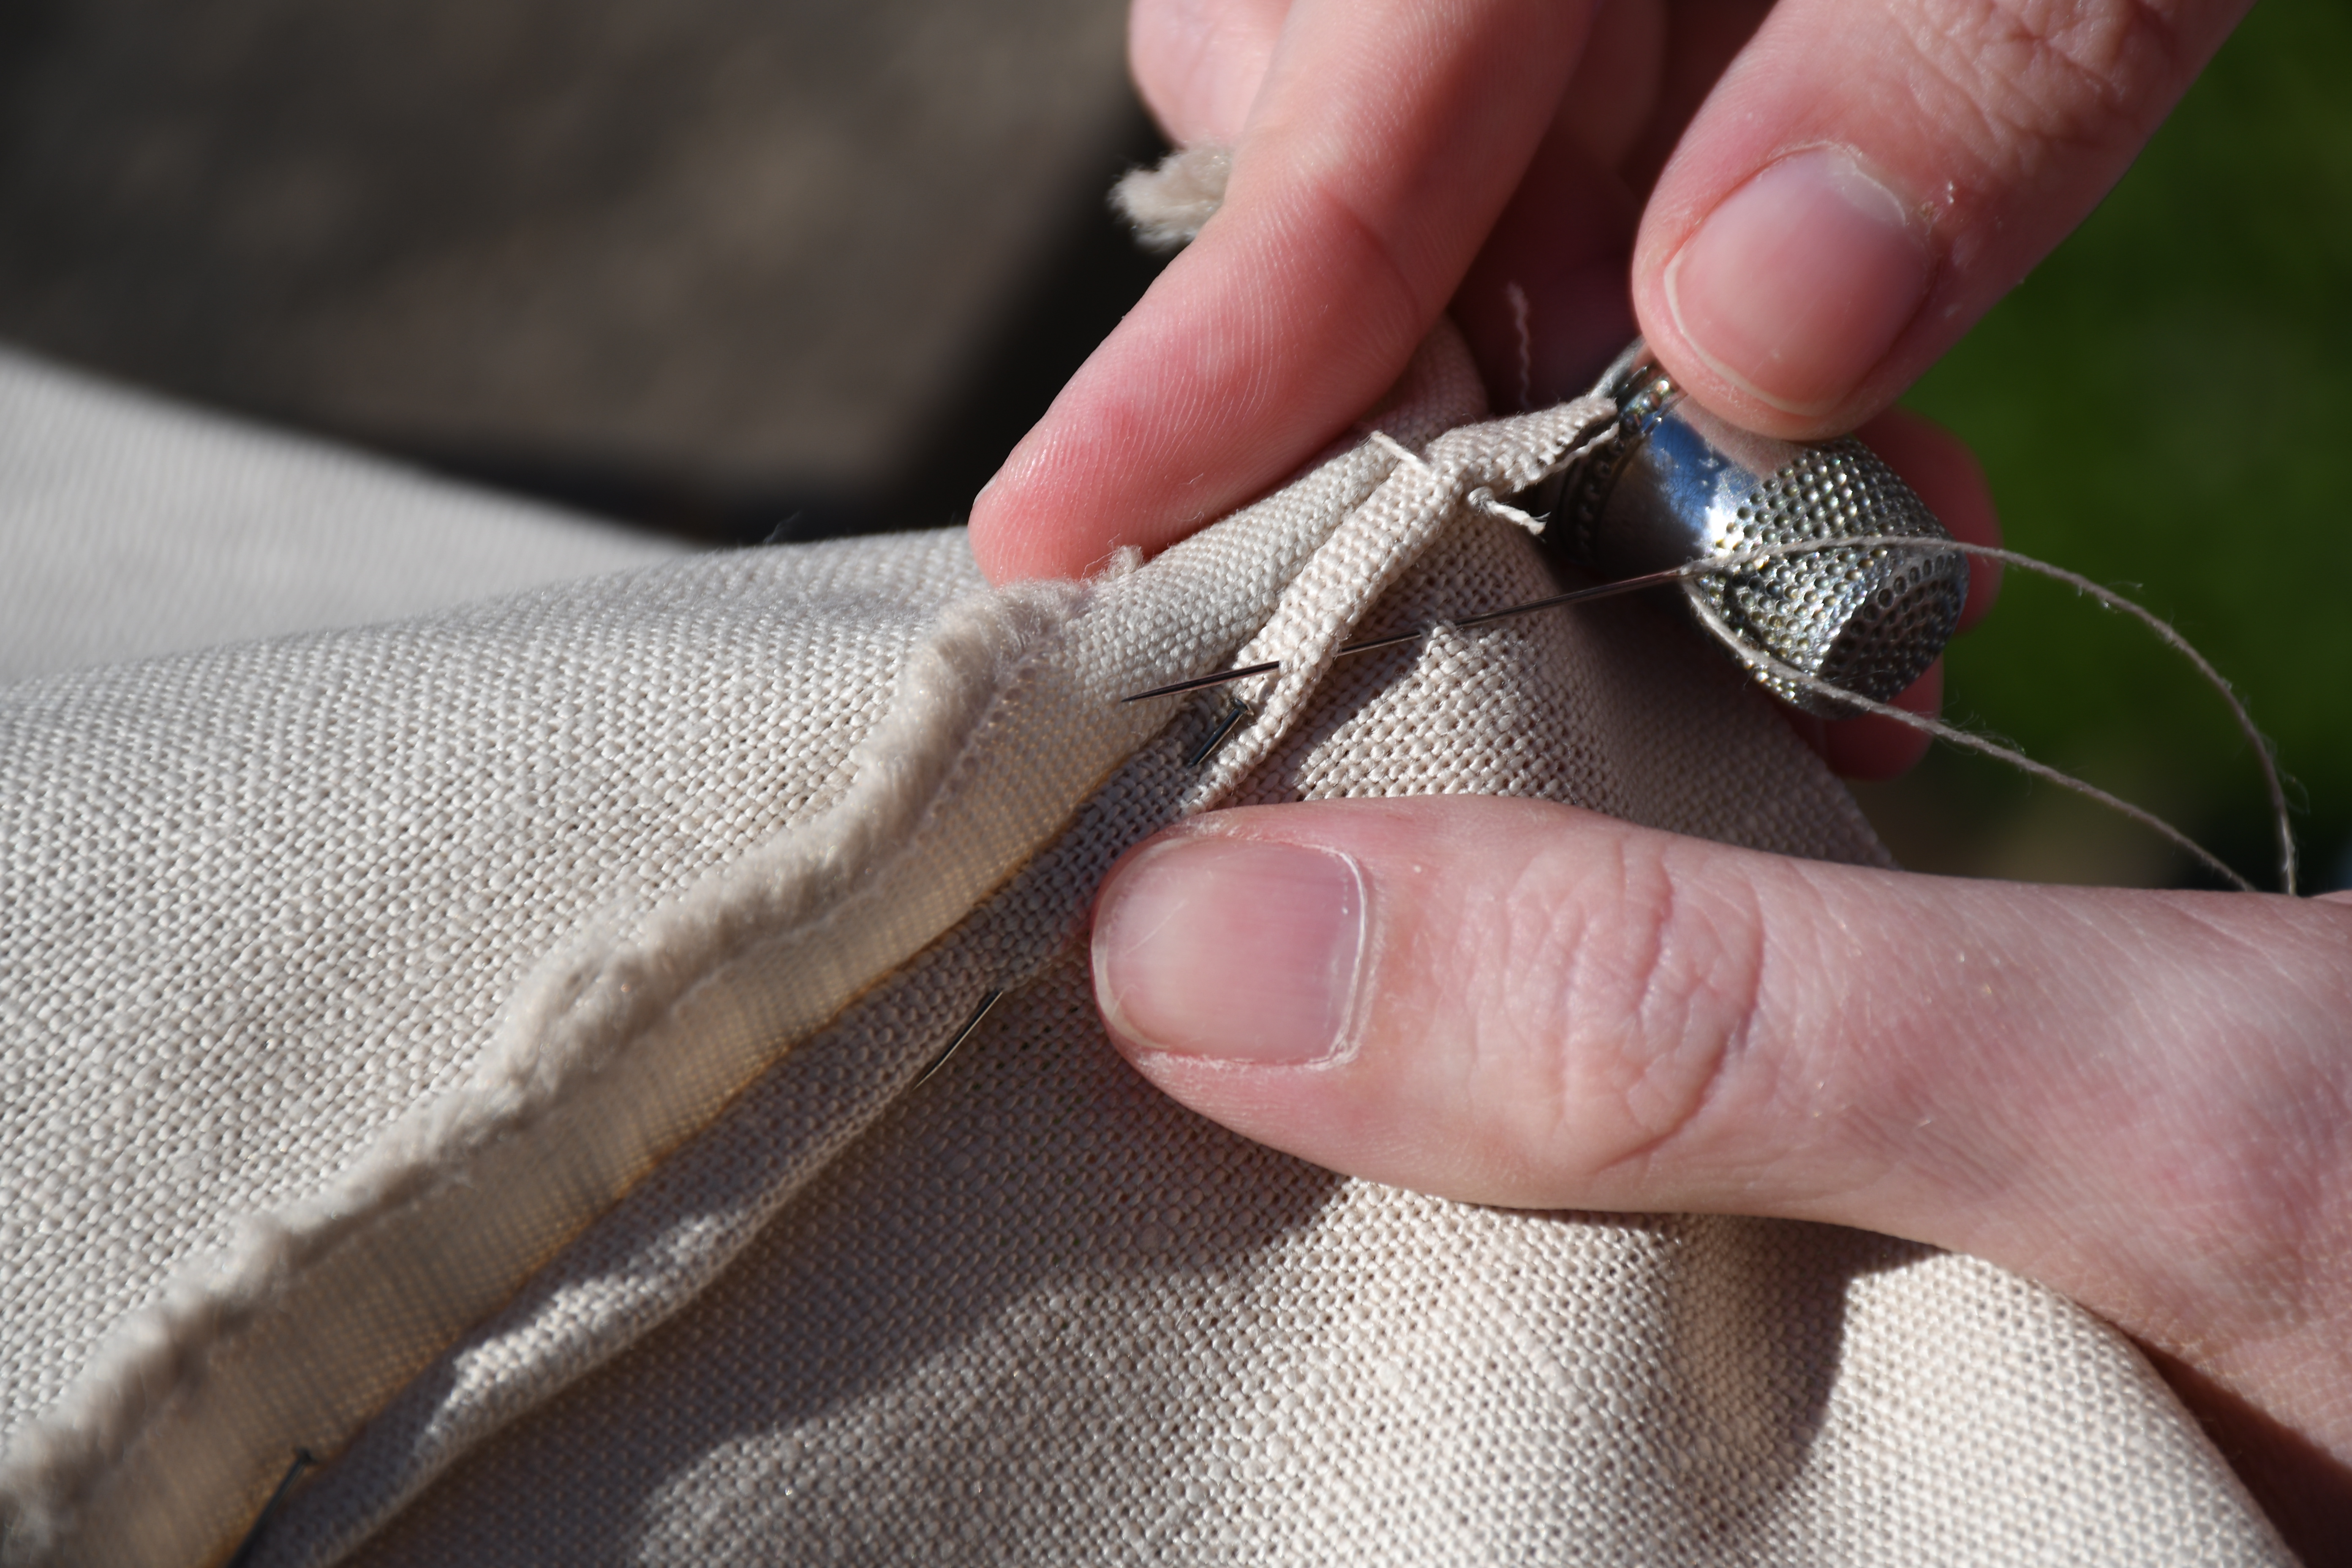

Step 6 - Sew the End Seams
Use a backstitch to sew each of the two ends of the wallet together.


Step 7 - Finish the End Seams
Just like with the long seam, roll the interior hem of each end seam, pin them, and finish with a whipstitch.


A completed wallet with finished seams and central opening. NPS Photo
Your 18th-century Wallet is Complete

Huzzah! You've completed your very own 18th-century wallet! Now what will you carry??
Park Ranger Jennifer Bolton models the finished product...like a boss!
Where this belongs
- Valley Forge National Historical Park
Where this page came from
This page was imported from National Park Service. Produced by the U.S. National Park Service and, as a work of the United States government, in the public domain.
Nobody has written it yet — it is the source material at a new address, which is why search engines are asked to skip it and why no one earns from it. It is up for grabs: take it on, and it is yours to rewrite and to earn from.
I dessa samlingarValley Forge National Historical Park
Licens: CC0 1.0 (allmän egendom) · Bearbetat efter www.nps.gov
1
0
0
0

Kommentarer
Läs härnäst


